

How to Capture Motion in Wildlife Photography
The best wildlife photograph you will ever take is the one you almost missed.
The leopard that dropped into a crouch a split second before you raised your camera. The kingfisher that left the branch before your shutter fired. The wild dog mid-sprint, a blur of colour and energy that your settings weren’t quite ready for.
Most people come home from the Kruger with technically correct images of animals standing still.
The photographers who come home with something genuinely extraordinary are the ones who understood, before they even boarded the game vehicle, that motion is what often creates the most magnificent photos.
This guide is not a beginner’s checklist.
These are the tips that can actually make a difference in the field, particularly when movement is involved.
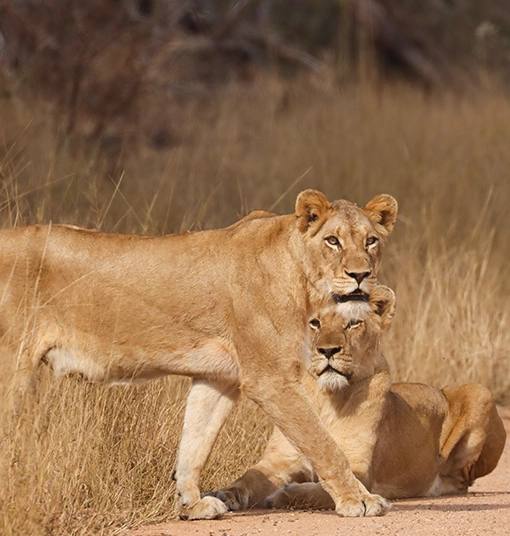
Shutter Speed Is Your Starting Point (Don’t Treat it as an Afterthought)
To freeze motion cleanly in the African bush, a shutter speed of 1/1000s is a reasonable start for most moving subjects.
For faster action, like a running predator or a bird in flight, 1/2000s or faster is even better.
This might feel counterintuitive on an overcast morning game drive when light is flat and low, but this is exactly when photographers lose their best frames to motion blur.
The trade-off is a higher ISO, but most modern mirrorless cameras handle the added noise remarkably well. Shooting at ISO 3200 with a sharp, frozen subject is a far better result than ISO 800 with a smeared wing or a ghosted leg.
Using Continuous Autofocus
Single-point autofocus is for portraits and still subjects.
The moment an animal moves, it belongs to continuous autofocus mode, called AF-C on most cameras and AI Servo on Canon systems.
Pair this with your camera’s subject or animal tracking feature, and it will lock onto the eye of a moving animal and follow it through the frame.
In 2026, most flagship mirrorless bodies from Sony, Canon, and Nikon can track a running impala or a bird mid-flight with accuracy that was simply not possible a few years ago.
Use these features without apology.
Burst Mode and Knowing When to Use It
Shooting in high-speed burst mode during an action sequence is not cheating.
A charge, a kill, a take-off, a pounce: these events happen in under two seconds and your decisive moment is buried somewhere inside them.
Shooting at eight to twelve frames per second gives you the editorial control to select the peak frame rather than gamble on a single shutter press. The discipline comes afterwards, in the edit, where keeping three excellent images is always better than keeping forty average ones.
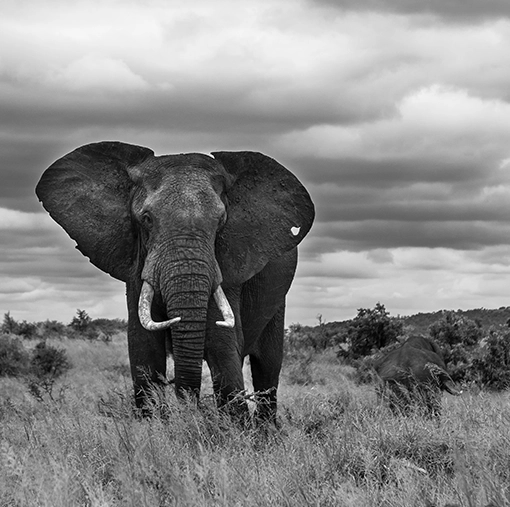
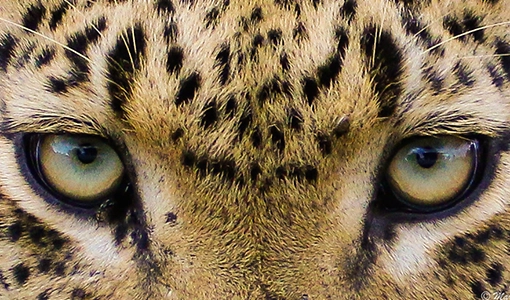
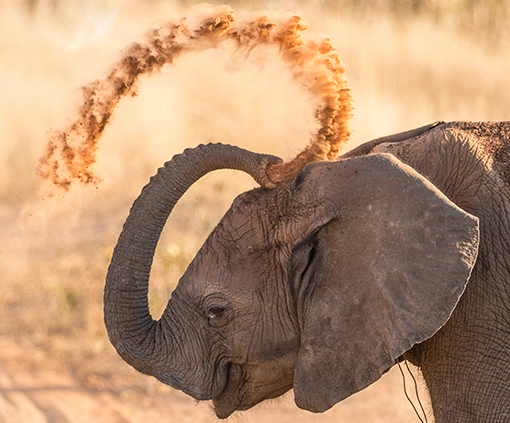
Use Panning to Show Speed Rather Than Stop It
Freezing motion is not the only goal.
Panning, the technique of moving your camera in sync with a subject while using a slower shutter speed of around 1/60s to 1/200s, produces images where the animal is relatively sharp but the background blurs into directional streaks of colour.
A running cheetah panned correctly will convey the speed of the animal in a way that a conventional image with a still background simply can’t.
It takes practice, and it also produces failures before it produces successes. But when it works, the result is a photograph that communicates velocity rather than merely documenting it.
Light Direction Changes Everything
Early morning and late afternoon in the Lowveld produce light that comes in low and golden, raking across fur and feather with a warmth that midday light cannot replicate.
Aesthetics aside, this directional light creates edge definition that helps autofocus systems lock on to a subject more reliably.
Plan your most ambitious motion shots for the first and last hours of the game drive.
Save the middle of the day for intimate close-ups, behaviour observations, and a flask of good coffee.
One Setting Most People Never Touch
Minimum shutter speed in Auto ISO.
Most cameras allow you to set a floor for shutter speed when using automatic ISO control.
Set it to 1/1000s, and your camera will never drop that value below, even when ISO climbs. This single adjustment means that if an unexpected moment breaks in front of you and your hands are not yet near your settings dial, your camera is already configured for movement. It is the kind of quiet preparation that separates a missed opportunity from a framed print on a wall.
Wild Photo Africa‘s guided photography safaris are built around exactly this kind of preparation.
The vehicles are positioned for light, the guides know animal behaviour, and the pace is set for photographers rather than sightseers. And our good technique and good access together produce results that neither can achieve alone.
Frequently Asked Questions
What are the best camera settings for wildlife photography in Kruger National Park?
For wildlife photography in Kruger, the most important settings to prioritise are shutter speed, autofocus mode, and ISO flexibility. A minimum shutter speed of 1/1000s is recommended for moving animals, with 1/2000s or faster for birds in flight or running predators. Use continuous autofocus (AF-C or AI Servo) with subject tracking enabled, and set a minimum shutter speed within your Auto ISO controls so that fast-moving subjects are never lost to motion blur. Shooting in RAW format gives you the best latitude in post-processing, particularly in the variable light conditions of early morning and late afternoon game drives.
How do you photograph fast-moving animals on safari?
Photographing fast-moving animals on safari requires a combination of preparation and anticipation. Set your camera to high-speed burst mode before the action starts, use continuous autofocus with animal or subject tracking, and keep your shutter speed at 1/1000s or higher. Reading animal behaviour is as important as camera technique: a lion crouching low, a bird shifting its weight on a branch, or a herd of impala suddenly stiffening are all signals that movement is imminent. Positioning yourself for good light and a clean background before the action begins is what separates a lucky shot from a considered one.
What lens is best for wildlife photography on a Kruger safari?
A telephoto lens in the range of 100-400mm or 200-600mm is the most practical choice for wildlife photography in Kruger. This focal range allows for close framing of animals without disturbing them, and covers both larger subjects like elephant and buffalo at medium distances and smaller or more elusive animals at range. Image-stabilised lenses are particularly valuable on game vehicles, where engine vibration and uneven ground make handholding at slower shutter speeds more challenging. A fast telephoto prime (such as a 500mm f/5.6) is excellent for birds and action in lower light.
Is it better to shoot RAW or JPEG for wildlife photography?
RAW format is strongly recommended for wildlife photography, particularly in variable or challenging light conditions. RAW files retain all the data captured by the sensor, giving photographers much greater control over exposure, white balance, and detail recovery in post-processing. JPEG files apply in-camera compression and processing, which limits the ability to correct images taken in unpredictable conditions. The trade-off is larger file sizes and the need for editing software, but for serious wildlife photographers, the quality advantage of RAW is significant.
What is the panning technique in wildlife photography and how do I use it?
Panning is a photographic technique where the camera is moved in sync with a moving subject while using a relatively slow shutter speed, typically between 1/60s and 1/200s. The result is an image where the animal appears relatively sharp but the background is rendered as a motion blur, conveying a strong sense of speed and movement. To use panning effectively, track the animal smoothly before pressing the shutter, keep your movement as horizontal and consistent as possible, and continue the motion through the frame after firing. It requires practice and produces a higher failure rate than standard motion-freezing techniques, but the results are visually distinctive and compelling.


