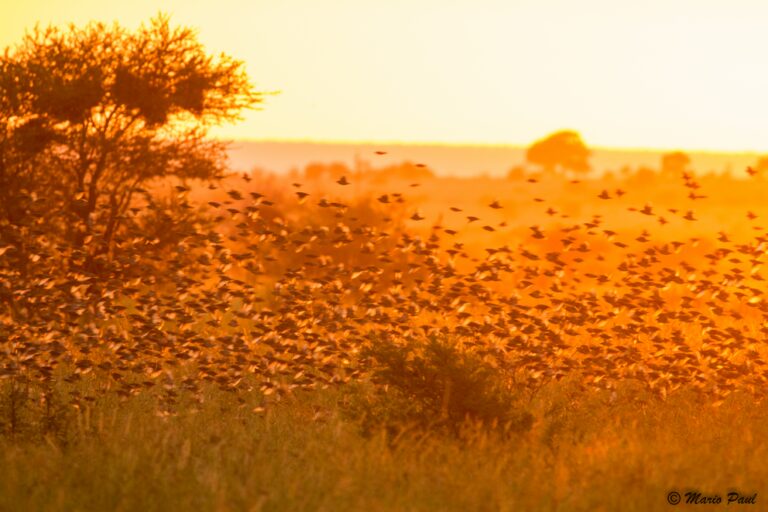
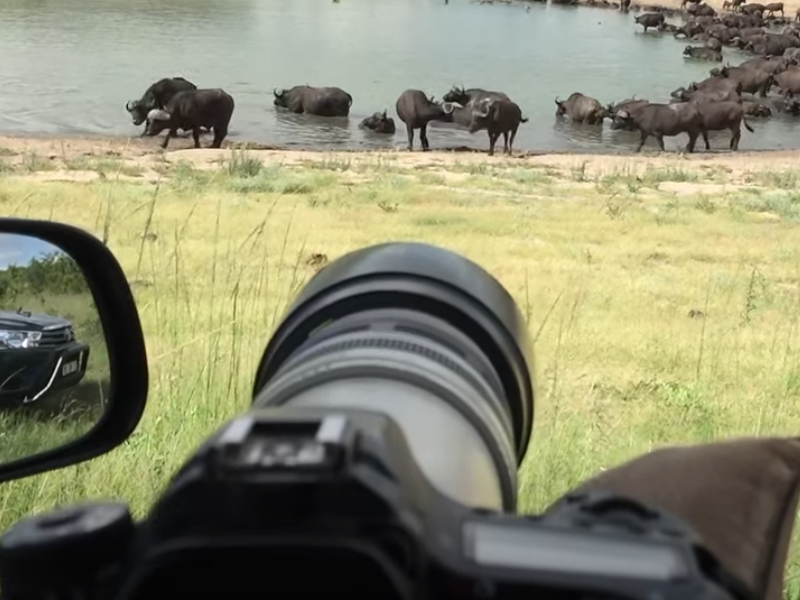
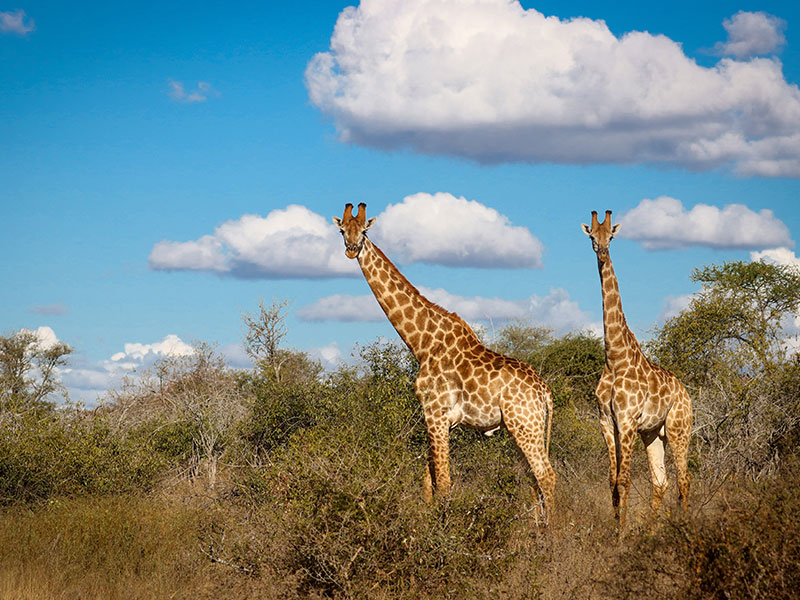
The Kruger National Park, with its vibrant ecosystem and iconic wildlife, is every nature photographer’s paradise.
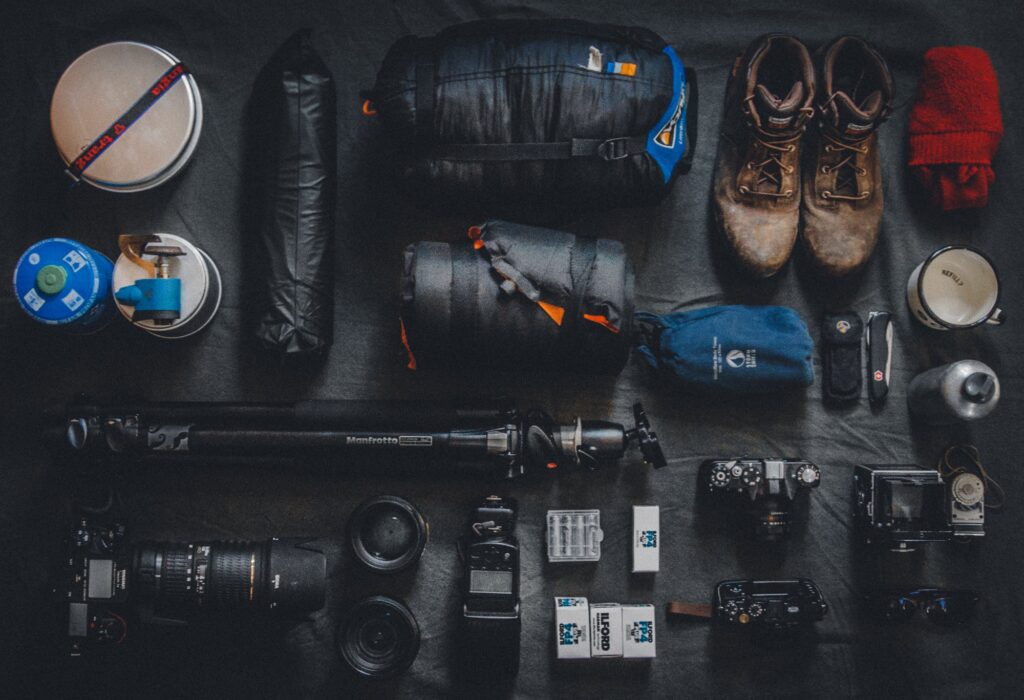
But capturing those fleeting moments with your lens is just the beginning.
So many photographers take the most incredible images, capturing otherworldly scenes, and after posting them to Facebook and Instagram, leave them to gather digital dust. The best way to preserve your stunning wildlife photos is to print and frame them.
And that is exactly the subject of this blog. We’re going to teach you some of the basics for turning your safari snaps into spectacular, storytelling wall art.
The Magic Touch of Editing
Sometimes, with the right settings, your images can come out of camera looking pretty amazing. But most photographers will enhance their images with post editing.
While basic adjustments like brightness and contrast can make your image pop, you can also experiment with dodging and burning tools to bring out specific details, or use masks to selectively apply colour adjustments. You can also play with curves to achieve specific moods, like a warm, nostalgic glow for a sunset image.
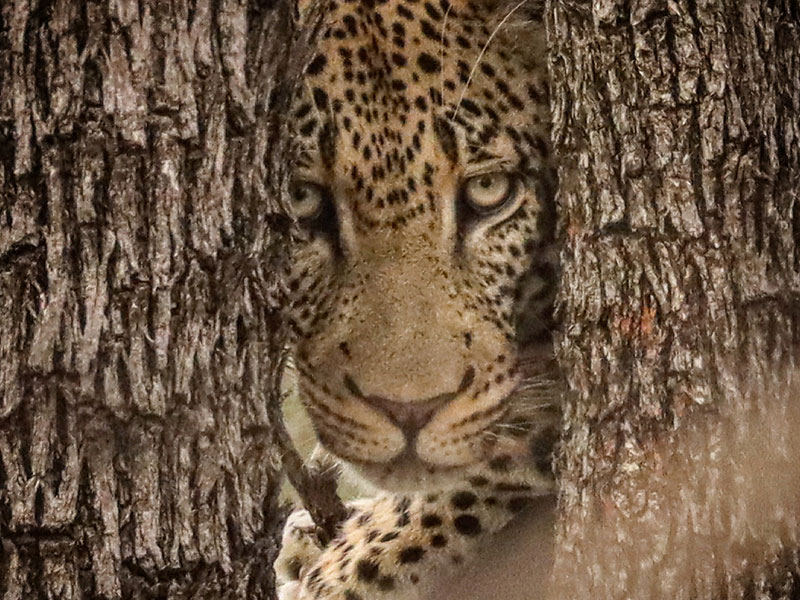
While editing, don’t be afraid to cut and crop! Sometimes, a tighter crop can eliminate distractions and emphasise the raw emotion of the scene. A close-up on a lion’s piercing gaze or an elephant’s wrinkled tusks can create an entirely new image.
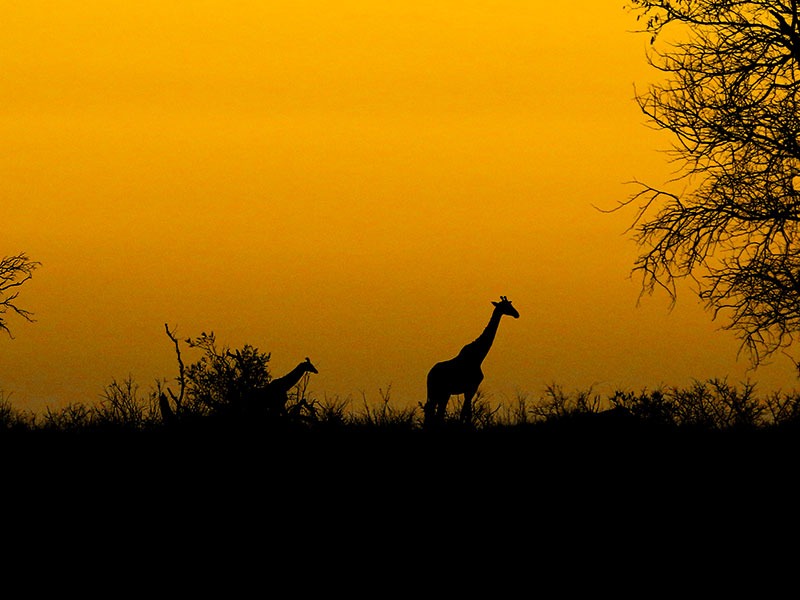
And sometimes, stripping away all the colour can reveal the true essence of a scene. When you convert your image to black and white and adjust tones for dramatic shadows and stark contrasts, your image suddenly turns into a spectacularly fine piece of art.
A lone giraffe silhouetted against a blazing sunset in monochrome can be breath-taking.
Printing for Posterity
When it comes to printing, especially if you are going to do it yourself, you must choose your paper wisely!
Different papers offer unique textures and finishes. Glossy papers enhance vibrant colours, while matte surfaces will give the image a timeless elegance. For black and white images, consider textured cotton papers for a rustic feel.
When printing, don’t underestimate the power of scaling. A large-format print of a charging elephant can become the centrepiece of your living room, while a smaller, framed close-up of a leopard’s eyes can create an intimate viewing experience.
Framing your Masterpiece
The frame you choose shouldn’t compete with your photo, instead you should choose a frame that complements the dominant tones in your image. For example, a warm wooden frame might suit a savannah landscape, while a sleek black frame could enhance a dramatic black and white portrait.
Wood, metal, or even reclaimed materials like barn wood will add personality to your artwork. When selecting your frame, consider the overall aesthetic you’re aiming for and choose accordingly.
You can also experiment with mat, or passepartout, which can add depth and draw the viewer’s eye towards the image. When doing so try out different widths and colours to find the perfect balance.
Beyond the Basics
Feeling adventurous? Take your photo editing skills a step further by transforming your image into a digital painting using software like Photoshop or Corel Painter. If you have the skills, you can try working with brushes, textures, and color palettes to create a unique, dreamlike version of your Kruger encounter.
Finally, don’t limit yourself! Combine your printed photograph with other mediums like acrylics, watercolors, or even collage elements to create a truly unique and personal piece and let your imagination run wild!
Remember, there are no “right” or “wrong” ways to turn your Kruger photos into art. The only thing you should think about is how you feel about the image.
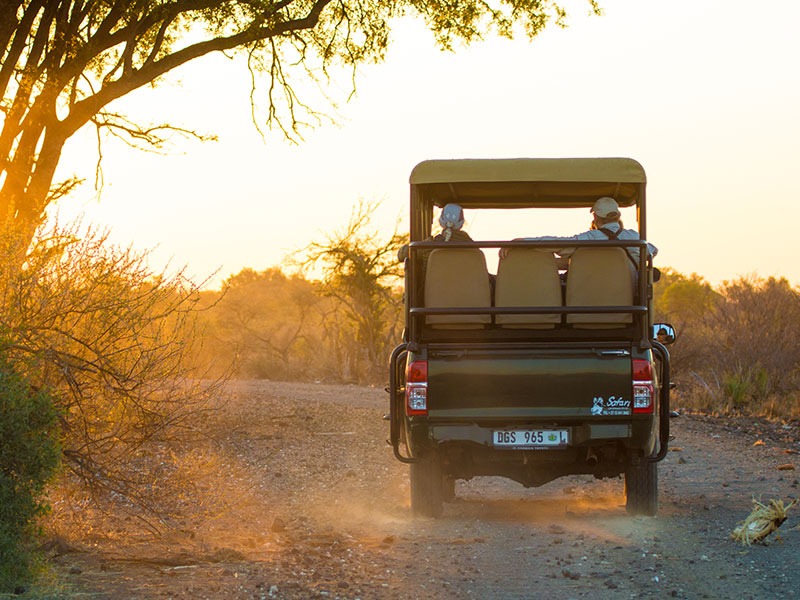
Looking for an epic trip into the Kruger, in the company of a professional photographer? Book your next holiday with Wild Photo Africa!


Ready to Experience the Wild?
Join Wild Photo Africa on an unforgettable photographic safari in the Kruger National Park.


